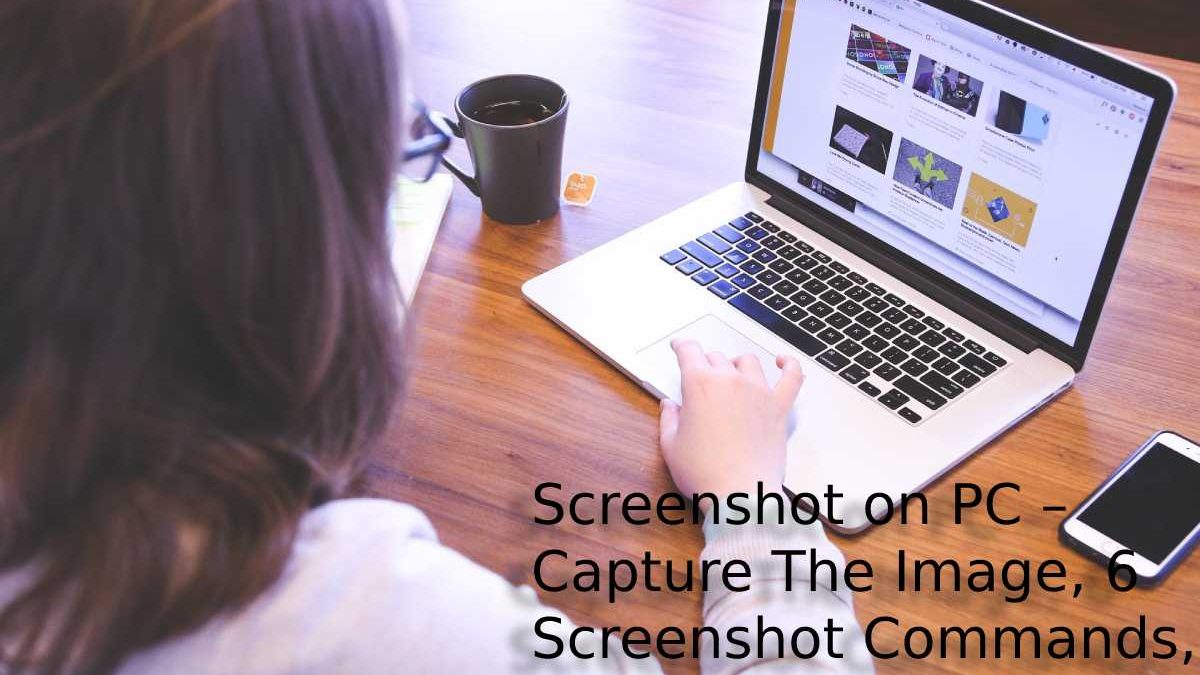
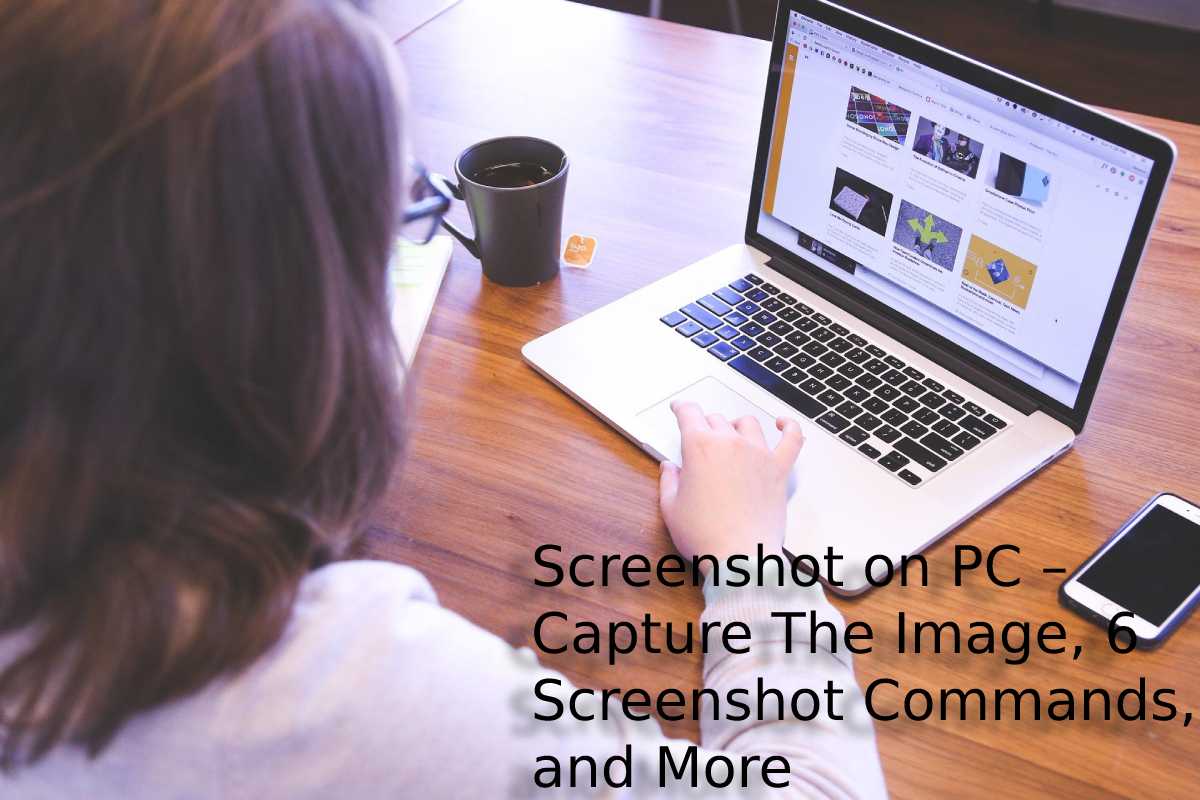
How to Screenshot on PC – Taking a screenshot on a PC is very simple and extremely useful; it will undoubtedly become one of your favourite tricks when using your computer. In addition, you can also find best photo editor on the internet.
Table of Contents
Take a Screenshot
If you are appealing screenshots on a Windows PC, the first thing to know is that there is no one-size-fits-all way to do so. Other options include sending screenshots on pc to OneDrive, passing them through the Xbox game bar, etc. Several of us have applied for years to use the Paint program, our favorite, but you can edit screenshots with almost any other tool, either ours or third parties.
How to Take a Screenshot on a PC?
Step 1: capture the image
- Windows delivers six methods for taking a screenshot. Three require the Print Screen (PrtScn) key, while the rest require Windows (Win) access.
- Proceeding to external keyboards, you will find a PrtScn key located in the upper right corner.
- The Win key is typically located in the lower-left corner between the Control (Ctrl) and Alternate (Alt) keys.
- It takes the Windows logo, so it is easy to identify.
- However, as shown above, the Print Screen command can be combined with an extra function in a single key on notebook computers.
- In this situation, you must press the Function (Fn) key to add to the Print Screen key.
Here we Break Down the 6 Screenshot Commands:

1. Print Screen (PrtScn): Capture the entire screen. If you have extra than one display, it works as a single image displayed on all connected displays. It doesn’t save your image as a file and sends the content to the clipboard by default.
2. Alt + Print Screen: – Capture a single window. First, highlight the target window, such as a document or browser, before pressing these keys (or three on a laptop). Evasion also does not save the image as a file but instead sends it to the clipboard.
3. Win + Print Screen: Capture the entire screen. The change is that Windows saves the image as a file. By evasion, it is sent to C: Users Images Screenshots on your PC.
4. Win + Shift + S: – Take a screenshot with the built-in Snip & Sketch tool. The screen is dimmed and offers four options in a small toolbar: rectangular, freeform, window, and full screen. It also does not save the screenshots as images but instead sends them to the clipboard. We will detail this feature later.
5. Win + G: exposed the game bar. Clack the screenshot button, and this tool will save an image to C: Users VideosCaptures by default. The Game Bar must be triggered in Settings> Games> Games> Game Bar to custom this tool.
6. Win + Alt + Print Screen: Capture the whole screen. Keeps an image to C: Users Videos Captures by evasion. To custom this tool, make sure the Game Bar screen capture feature is activated in Settings> Games> Game Bar. However, the screen flickers or dims to indicate that Windows took a screenshot. If not, expose File Explorer and go to the default locations to see if Windows saved the image.
- However, if you use OneDrive, you can save screenshots to the cloud to be accessible from all your devices.
- It doesn’t do this by evasion, but you have to right-click the parked cloud icon next to the system clock and click Settings in the popup menu.
- Then hit the Backup tab in the resulting popup and verify that C captures the screen.
- However, you can press the first three Print Screen commands to save an image to OneDrive automatically in this situation. You will non see the screen flicker or dim.
- In its place, you will obtain a notification. Make sure to sync the Screenshots folder if you want to access the images on your PC.
Step 2: Open the Paint Program
If you secondhand a method that saves the screenshot locally as a file, you can find and opinion the image using the Photos app.
It worked, you can move it, assign it to an email, upload it to the cloud, etc.
If you need to crop an image, especially those taken on PCs with more than one screen, you have three native tools: Paint, Paint 3D, and Photos.
- Likened to Paint and Paint 3D, Microsoft’s new Photos app is limited. You can rotate and crop images, revolutionize the aspect ratio, apply filters, adjust color, remove red-eye, etc.
- However, you cannot draw, paint, make an image from scratch, or paste it from the clipboard.
- We use the Paint program in this director because it is familiar and reliable.
- By evasion, you won’t find it on the Start menu. So instead, type Paint in the taskbar field and click on the resulting desktop application.
- The painting may also be available by right-clicking on an image. Then, when the popup menu appears, hover over the Open with a menu option to find Paint, as shown below.
- You can also locate the program (mspaint.exe) in the C, WindowsSystem32 directory.
- Right-click on the File and choose Pin to jump from the popup to the menu.
Step 3: Here, Paste the Screenshot (clipboard methods only)
- You would need to follow this step if you used any of the ways that sent the screenshot to the clipboard.
- Through Paint open, click the Paste Clipboard Style button in the upper left corner.
- You can too press the Ctrl and V keys on your keyboard to paste the image onto the blank Paint canvas, which will expand as required.
- You can cut out, paint, create shapes, add text, and more through the screenshot inserted correctly in Paint.
- If you need to add stickers, 3D shapes, effects, and more, click the Edit with Paint 3D button at the far right of the toolbar.
Step 4: Save the Screenshot
- This stage applies to all screen capture methods.
- Once you’re editing the image, click the Main File option in the upper left corner. Then, formerly choose Save As from the drop-down menu.
- This option expands by selecting four file formats: PNG, JPEG, BMP, GIF, and the Other Formats option to save your image as a TIFF or HEIC file.
- If you’re unfamiliar with image formats, check out our guide to JPEG vs. PNG. How to Screenshot on PC